Single Sign On (SSO) is available for DocBoss. If enabled, users with the company domain will be redirected to their identity provider to sign in to access DocBoss. The instructions below outline how to set up SSO and SCIM with DocBoss when using Ping as the identity provider.
SSO:
- Open Manage Environment -> Application page
- Click to add a new application on the "+" icon near the page title.

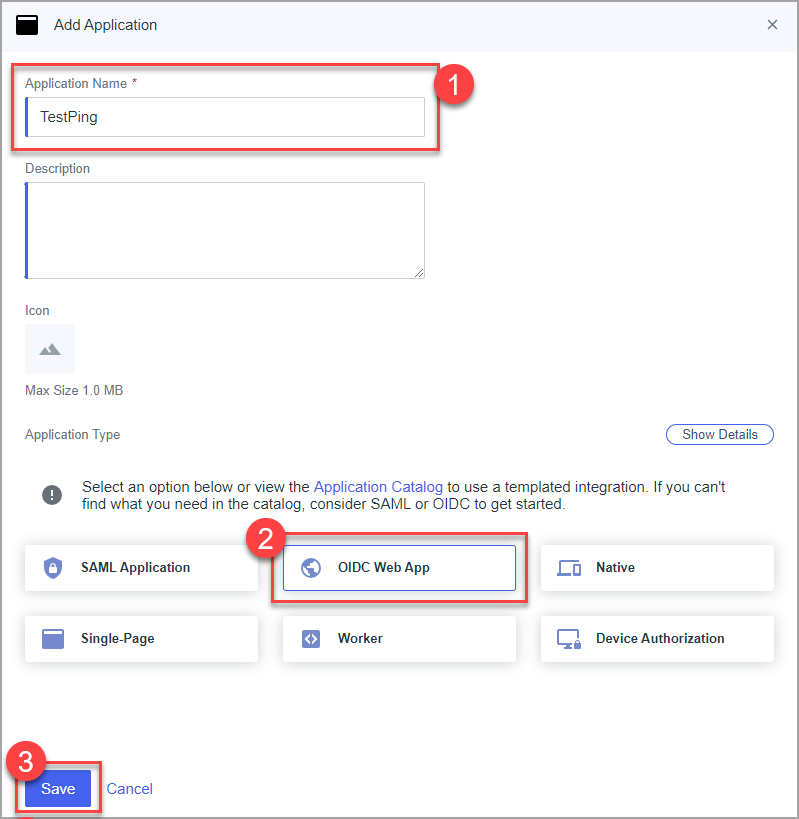
- Set the name for the application and choose "OIDC Web App" type. Click to save.
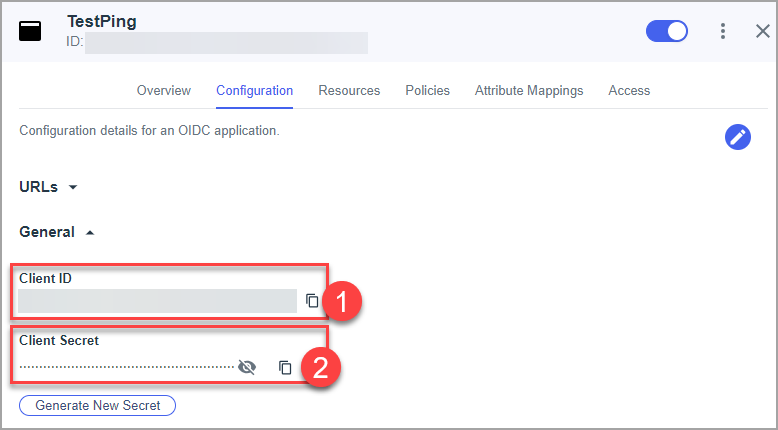
- Copy Client ID, Client Secret on the Configuration tab, general block. Make note of these to send to DocBoss Support.
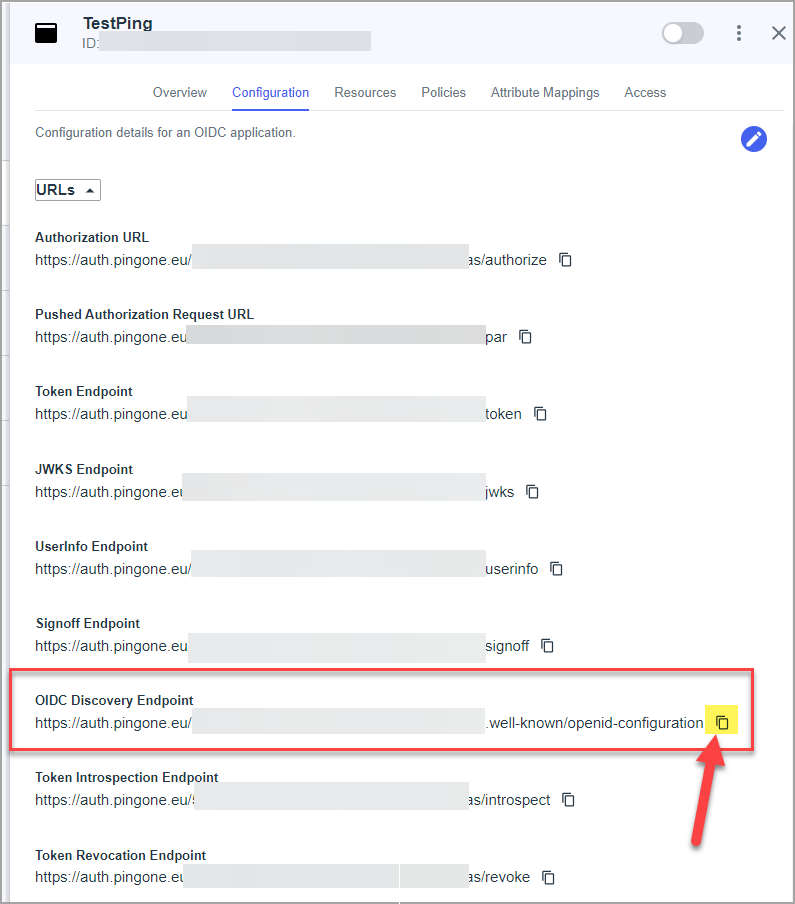
- Copy OIDC Discovery Endpoint on the Configuration tab, URLs block. Make note of this to send to DocBoss Support.
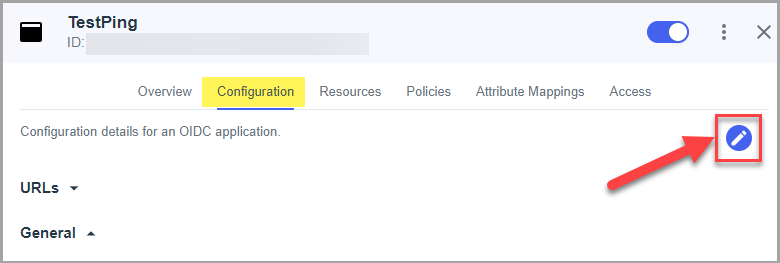
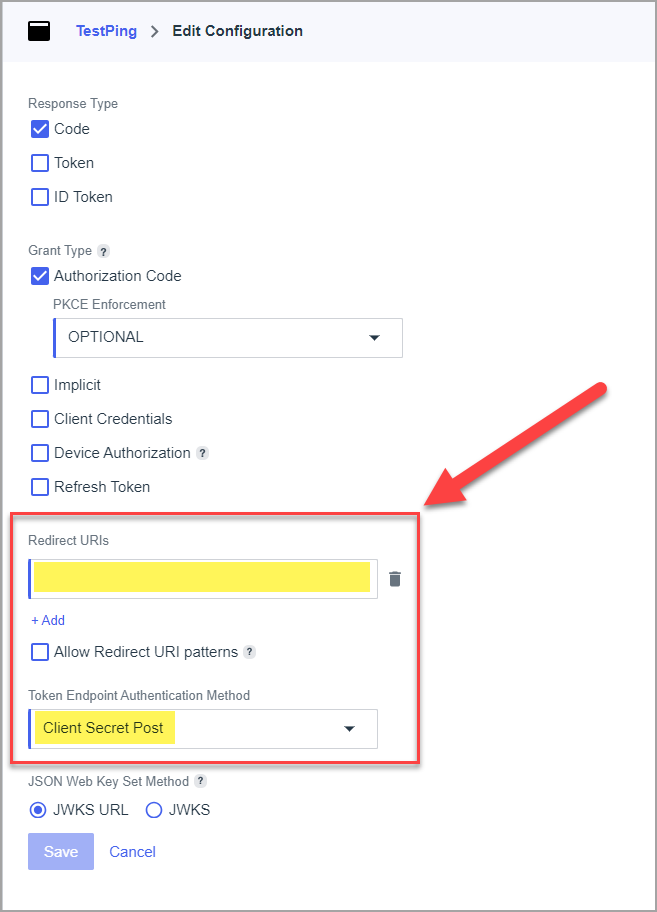
- Click to edit Configuration settings (edit icon on the top of the configuration tab).
- Set Redirect URIs [we give value to the instance] and set Token Auth Method = "Client Secret Post".
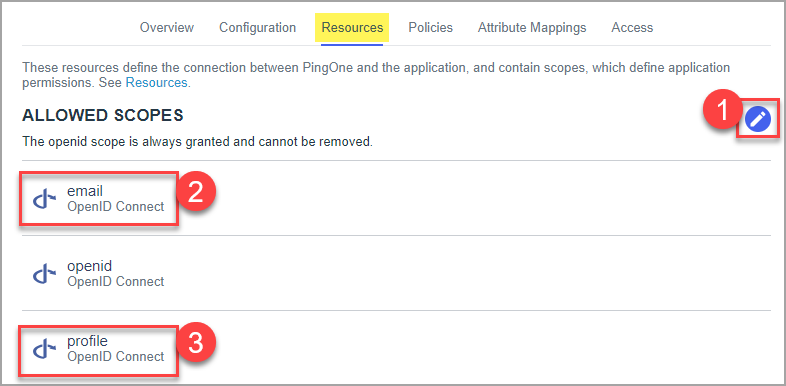
- Choose "Resources" tab and click to edit allowed scopes.
- Select "email" and "profile" scopes and save.
SCIM:
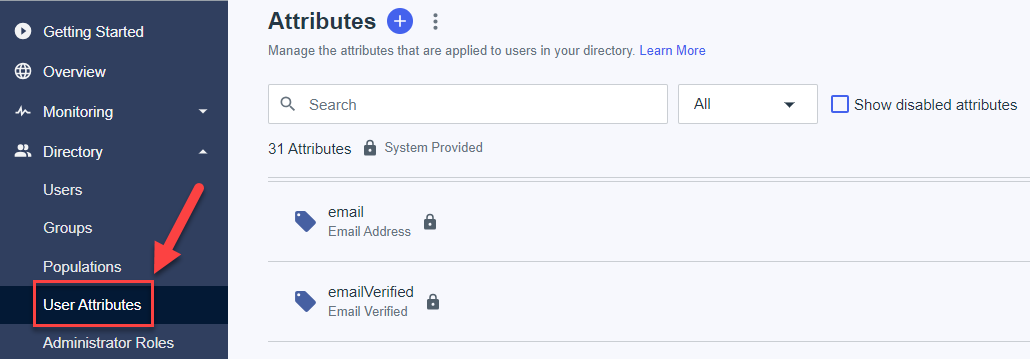
- Open Manage Environment -> Directory -> User Attributes page.
- Click to add a new attributes on the "+" icon near the page title.
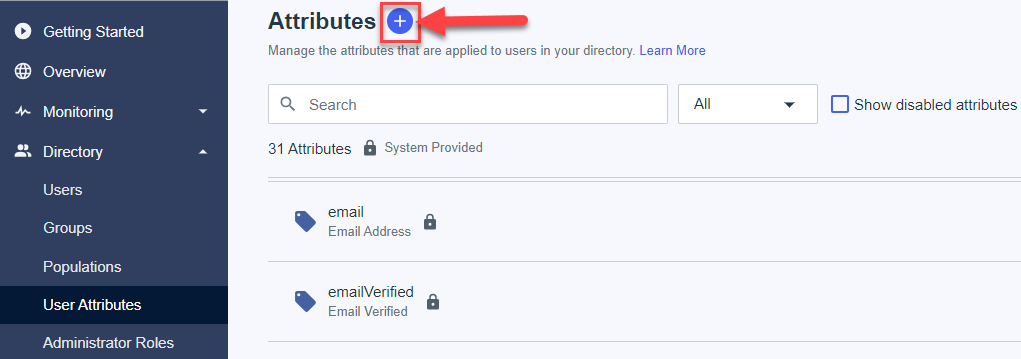
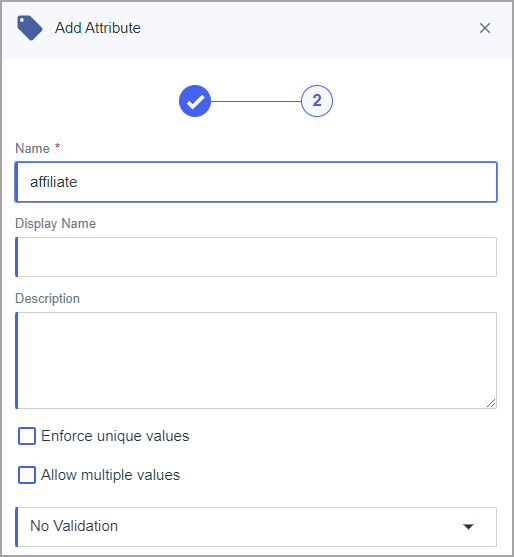
- Add two attributes: userType and affiliate, type = declared.
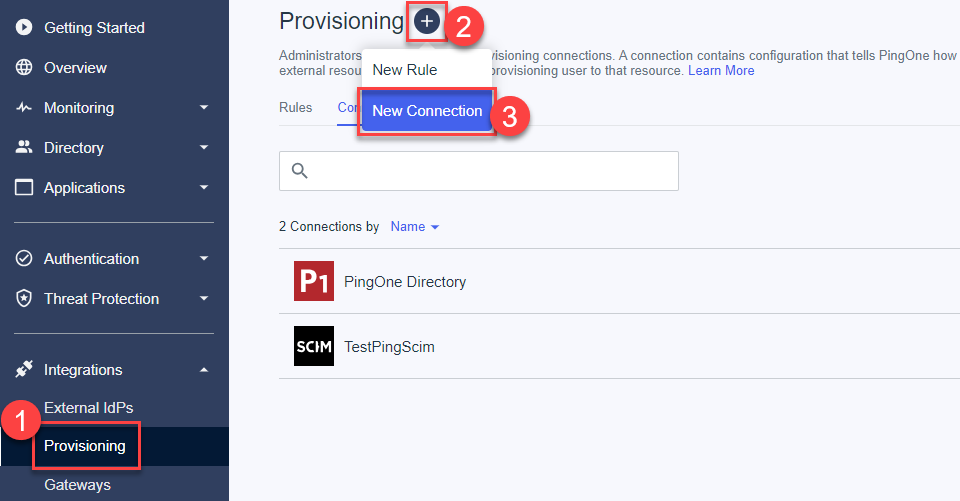
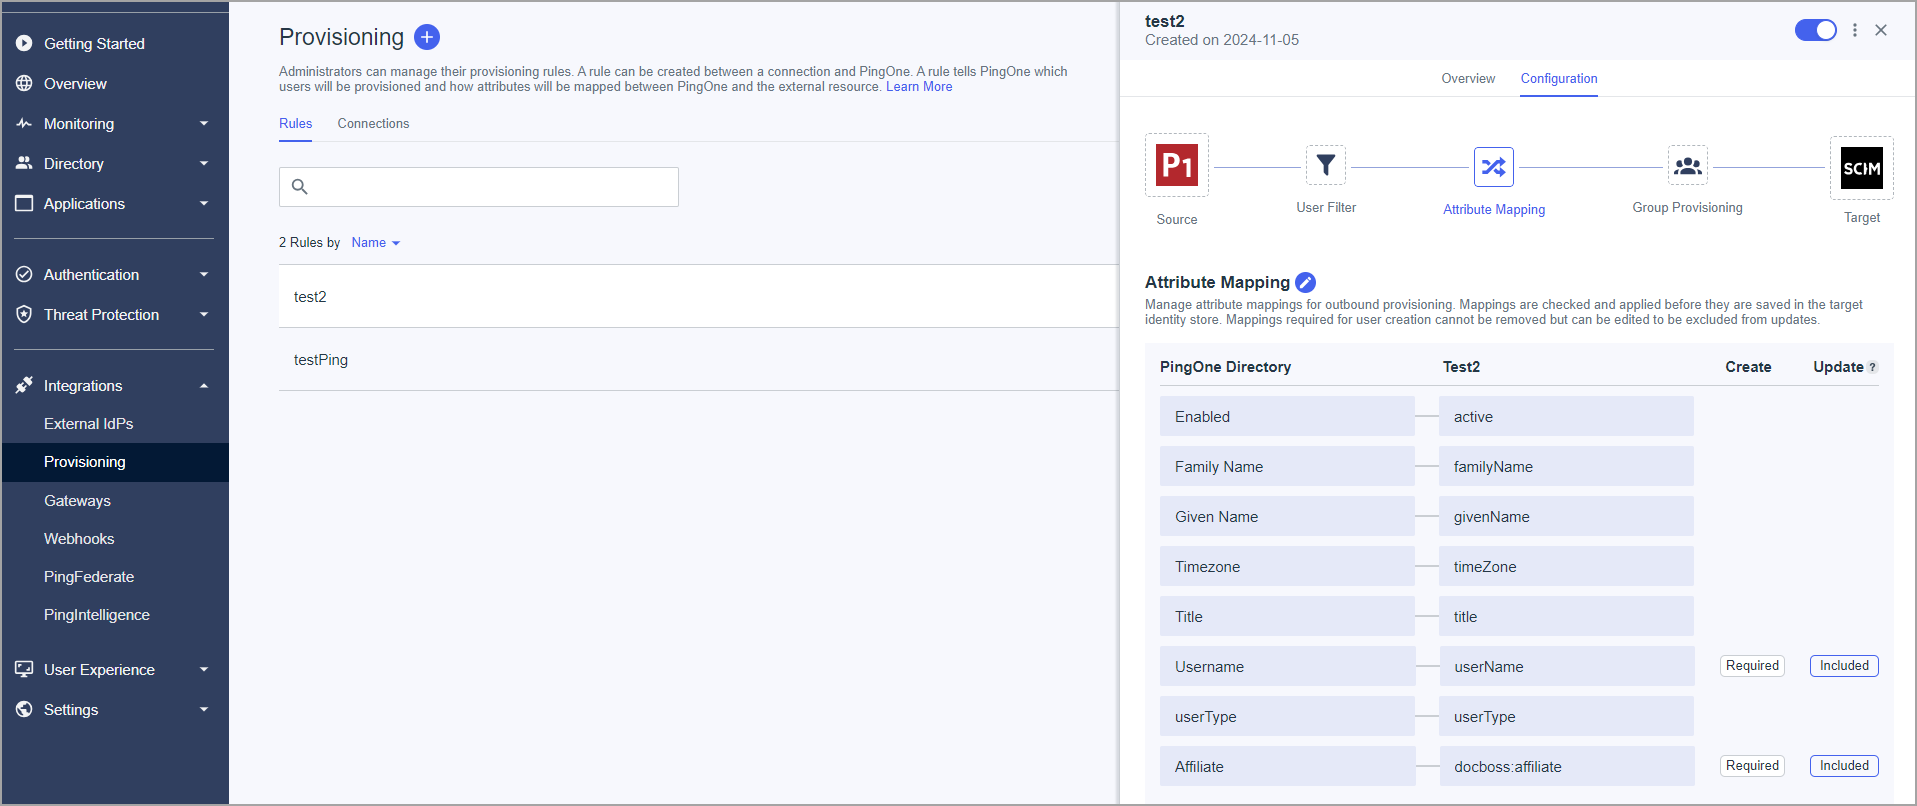
- Open Manage Environment ->Integrations -> Provisioning page (see below)
- Click to add a new connection on the "+" icon near the page title.
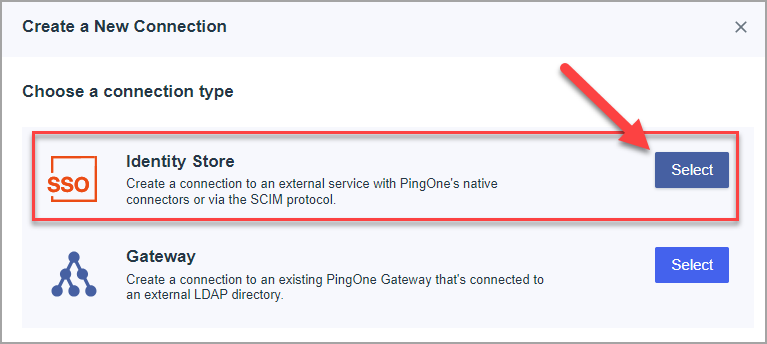
- Choose a connection type "Identity Store".
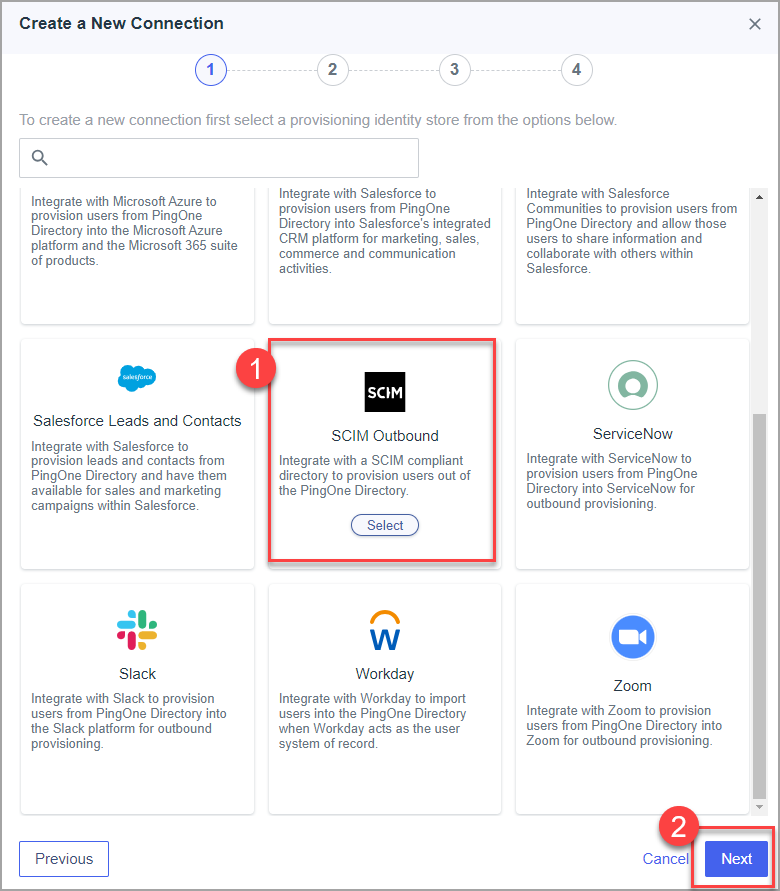
- Choose "SCIM Outbound" and click next.
- Set the name for the application and click next.
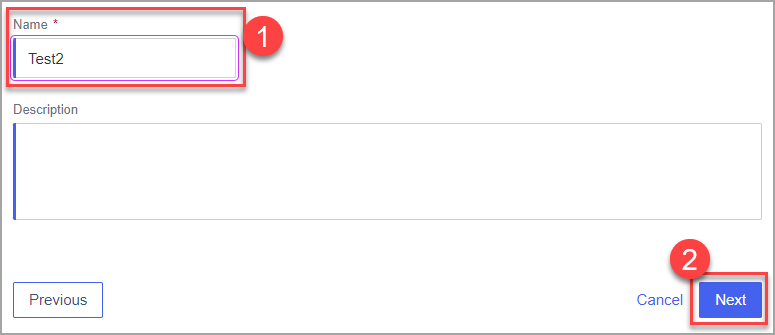
- Set following values and click next :
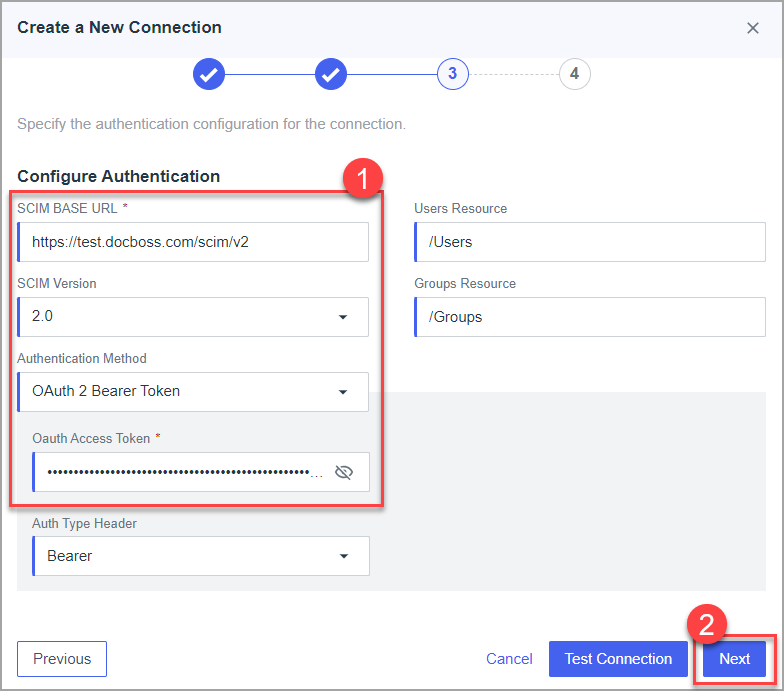
- SCIM BASE URL = https://systemX.docboss.com/scim/v2 [X should be replaced with system number empty or 2, 3, 4, 5, 6]
- SCIM Version = 2.0
- Authentication Method = OAuth 2 Bearer Token
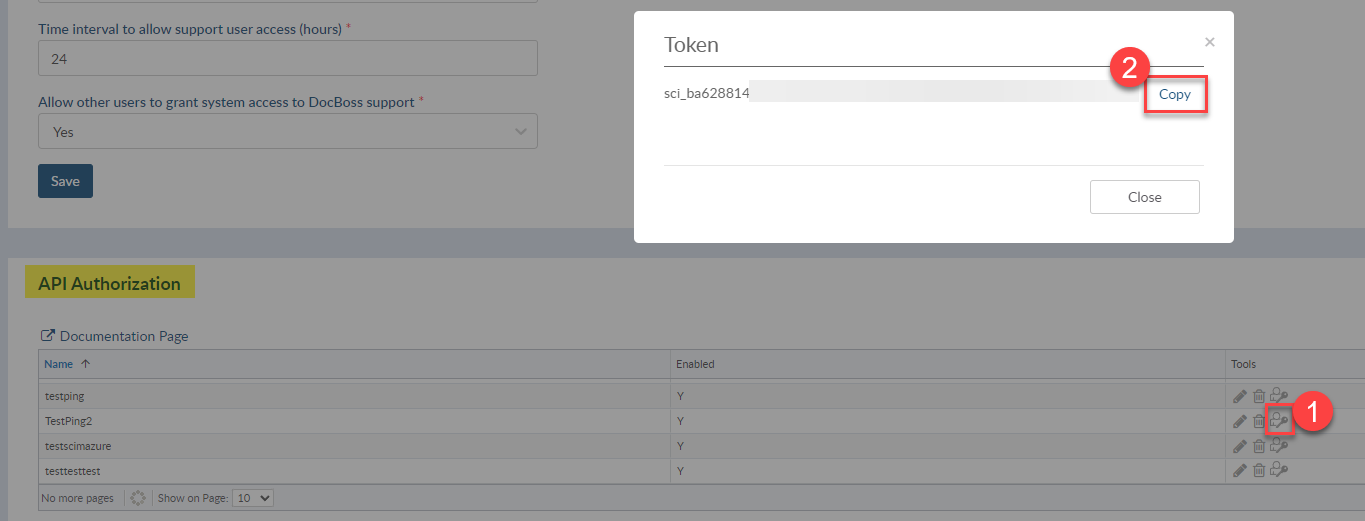
- Oauth Access Token = Docboss long term token [copy from docboss]
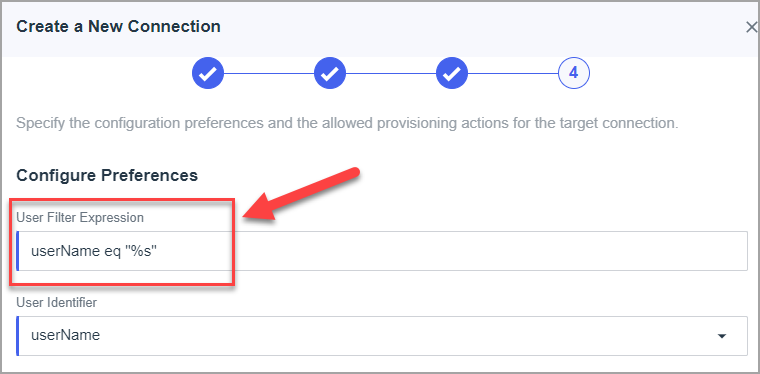
- Set User Filter Expression = userName eq "%s" and click to save [case sensitive]
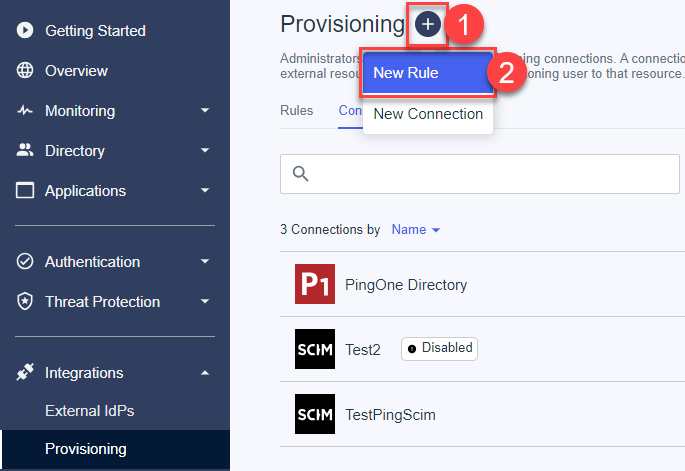
- Click on the "+" icon near the page title to add a new rule
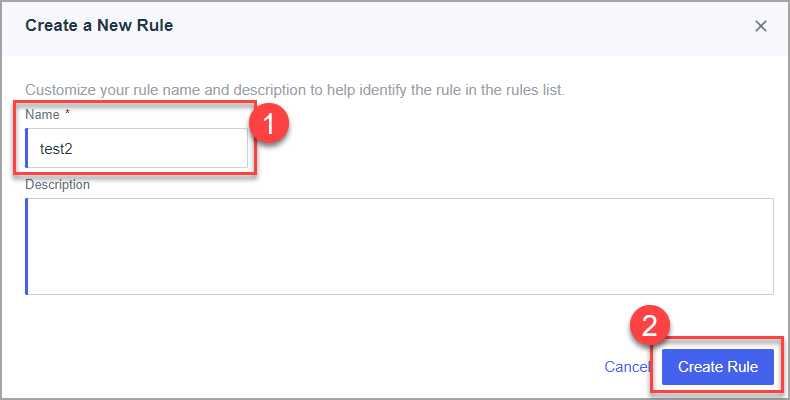
- Set the name and click to create the rule.
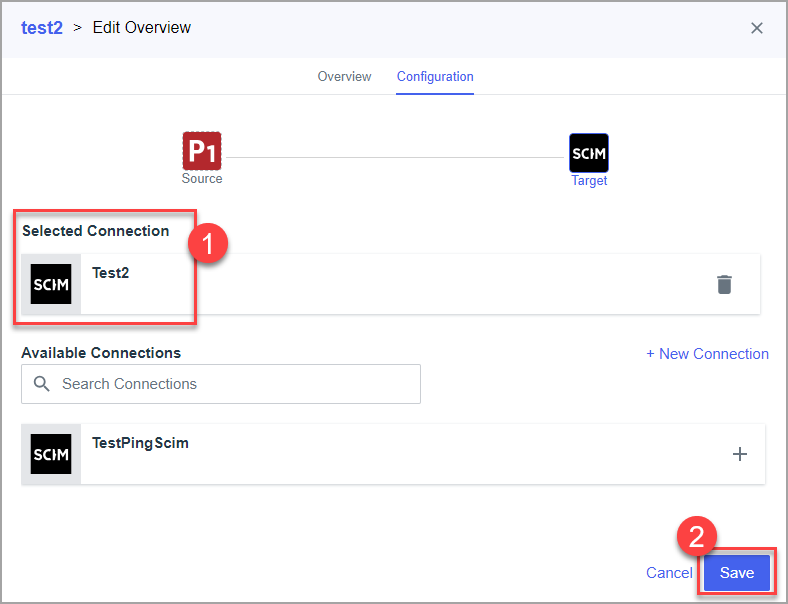
- Select created connection and save
- Click to edit filter and set how the users should be selected for provisioning and save

- Add mapping for fields. Remove excess fields added for mapping by default.
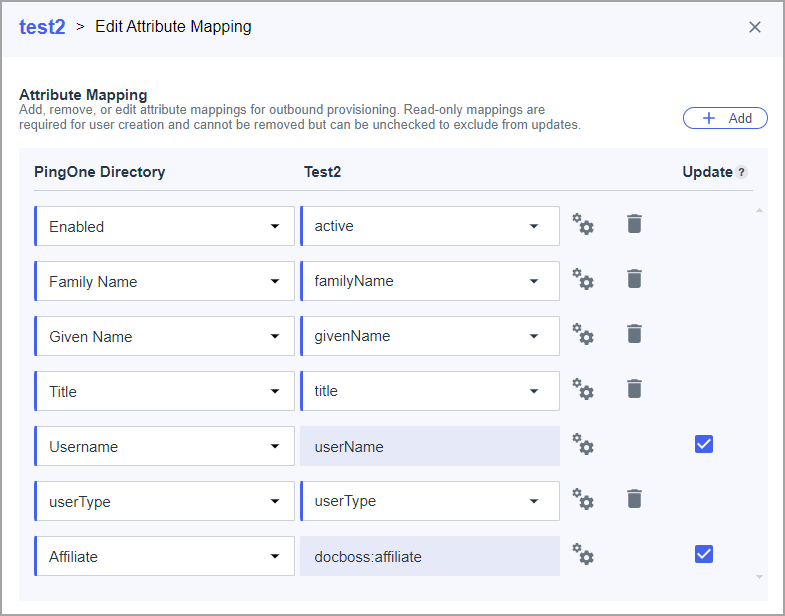
- List of all avaliable parameters:
- "userName" - required, value should be unique. Value will be saved as login for user
- "familyName" - required
- "givenName" - required
- "active" - required. Value is used to disable\enable user
- "userType" - not required. If user doesn't add field to mapping OR send empty value "View" role will be saved. Allowed values are Admin, Full, Reviewer, View [case sensetive]
- "affiliate" - not required. Created with instance affiliate will be set for user
- "title" - not required. User can skip adding this field to mapping
- Enable connection

- Enable rule
Implementing
Once the steps above are complete and you have provided the information to DocBoss as noted in them, reach out to DocBoss Support and we will schedule a meeting to enable SSO (and user provisioning, if using). Our Support will also provide a redirect URI for your application. This will redirect users back to DocBoss after authentication in your identity provider. This must be added in your identity provider application for SSO to function.
If you want to try the function, then schedule a roll out for your users we can schedule the meeting to enable, test (have a user login), then disable within a few minutes. Already logged in users would not be affected. You can then communicate to your user base with a timeline for the switch. Alternatively, we can just leave it enabled after the test is successful.


